Unpacking 13 Years of Bikepacking Bags: What Changed?, by BIKEPACKING.com on YouTube. 25 min 25 s.
- Video length
- 25 min 25 s
- Time to do it
- 1 hour
- Difficulty
- Easy
- Steps
- 7
What you need
Steps
Fit the frame bag inside the main triangle first. Use a half bag for bottles or a full bag for more room. Keep heavy tools and spares low and centred.
Pack the seat pack with light, bulky gear like a sleeping quilt or spare clothes. Roll them tight, squeeze out air, and cinch the straps so the bag cannot sway.
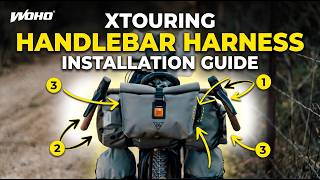
Load the handlebar bag or harness with your sleep system or tent. Keep the weight even on both sides and check that cables and brake levers still move freely.
Use a top tube bag and stem bags for snacks, phone, map and small tools. These are the things you want to reach without stopping and unpacking.
Add panniers or fork packs only if you need more capacity. Load both sides evenly and check tyre and fork clearance before you ride.
Bag loose items in dry bags and stuff sacks, press the air out, and roll the top closed. Label or colour code bags so you know what is inside.
Do a short loaded test ride. Check straps, buckles and bag movement, then tighten anything that rubs or swings.
Tips and common mistakes
Keep the heaviest weight low and near the middle of the bike for stable handling.
Make sure no strap, buckle or bag edge can touch the wheels, brakes or spokes while riding.
Protect frame paint with tape where bags and straps rub.
Weigh your full setup before the trip and cut anything you did not use on the last ride.
Questions
What should go in a bikepacking frame bag?
Tools, spares, pump, snacks and small heavy items. Keeping weight low and central in the frame helps the bike handle well on rough ground.
Can I bikepack without a rear rack?
Yes. A seat pack, handlebar setup and frame bag cover most overnight trips. Racks and panniers make sense when you need more space or carry bulky food.
How do I stop bags from rubbing the frame?
Clean the frame, apply protective tape at contact points, and tighten straps firmly. Recheck them after the first hour of riding.
This guide was drafted from the video's details and general task knowledge. It has not been checked against the full video. Check the video and relevant product instructions before following a procedure. Report a correction.