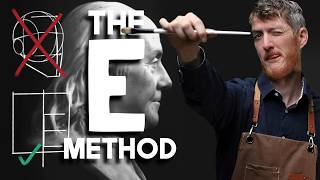
Draw Like the Old Masters | 18th Century Portrait, by Chris Harrison sketch and paint on YouTube. 4 min 42 s.
- Video length
- 4 min 42 s
- Time to do it
- 30 minutes
- Difficulty
- Easy
- Steps
- 9
What you need
Steps
Place your reference next to your paper. Look at the head as a whole before drawing anything. Note which way the face turns and where the features sit.
Check proportions first. Compare the distance from the top of the head to the eyes, then eyes to chin. Use your pencil held at arm's length to measure these distances against each other.
Block in the head with a few light shapes. Treat the skull as an oval and the jaw as a wedge. Keep the lines faint so you can adjust them.
Break the headdress and hair into simple shapes. Group curls and folds into a few large forms instead of drawing every strand.
Hold the pencil further back for loose marks and closer to the tip for detail. Press lightly for the first pass and harder only on the darkest accents.
Vary your line weight. Use thin, light lines for the face and heavier marks for shadows under the chin, nose and hair.
Draw on gray toned paper with the red pencil. The mid-gray background gives you a middle value to work from.
Add white chalk on the highest points of the face, such as the forehead, nose bridge and cheekbone. Keep highlights small and selective.
Step back and compare your drawing to the reference. Fix the biggest proportion errors before adding more detail.
Tips and common mistakes
Measure twice and draw once. Most portrait errors come from wrong proportions, not weak line work.
Keep your first lines light so you can erase and adjust without smudging the paper.
Use the white chalk sparingly. Too much highlight flattens the form instead of building depth.
Work from large shapes to small details, and only add fine features near the end.
Questions
Do I need toned paper for this?
No. You can start on white paper with a red pencil. Toned paper just makes the white highlights stand out more and gives you a middle value to work from.
What if I don't have Conte pencils?
Any red or sepia pencil works, plus a white pencil or chalk for highlights. The technique matters more than the exact brand.
How long should the sketch take?
A quick study like this takes about 20 to 30 minutes. Take longer if you want to refine the shading and features.
This guide was drafted from the video's details and general task knowledge. It has not been checked against the full video. Check the video and relevant product instructions before following a procedure. Report a correction.