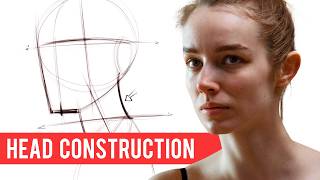
How to Draw a Portrait with Accurate Proportions | Loomis Method, by hamedelshal on YouTube. 6 min 28 s.
- Video length
- 6 min 28 s
- Time to do it
- 30 minutes
- Difficulty
- Medium
- Steps
- 10
What you need
Steps
Draw a circle for the cranium. Keep it light so you can erase it later. This sphere is the top of the skull, not the whole head.
Draw a vertical center line down the front of the sphere. For a head looking up, curve it so it follows the tilt of the face.
Slice the sphere into a side plane and a front plane. The front plane is the face area, and the side plane holds the ear.
Place the brow line around the middle of the sphere. Then add the nose line and hairline below it, spacing them to match your reference.
Build the jaw from the bottom of the side plane. For an upward tilt, the jaw sits higher and the chin pushes forward.
Add the neck and ears. The ear sits between the brow line and the nose line on the side plane.
Place the eyes on the brow line, the nose at the nose line and the mouth between nose and chin. Check each feature against the reference.
Add hair as simple shapes over the cranium first. Refine the outline only after the proportions look right.
Compare your drawing with the photo. Fix the center line, brow line and jaw angle before adding detail.
Darken the final lines and erase the construction guidelines.
Tips and common mistakes
Keep every construction line light until the proportions match the reference.
The brow line stays near the middle of the sphere, so do not push it up when the head tilts.
Check your drawing in a mirror to spot tilted or uneven features.
Use a straight edge to compare the angle of the center line with the photo.
Questions
Do I need to be good at drawing to use the Loomis method?
No. The method uses simple shapes and lines, so beginners can build a head step by step. Expect a few rough attempts before it clicks.
Why does my head look flat when drawing it looking up?
The jaw and chin usually need to move up and forward, and the nose line shifts. Compare those three lines with your reference and adjust them.
What pencil should I use for construction lines?
An HB pencil with light pressure works well. A 2B is fine for the final darker lines.
This guide was drafted from the video's details and general task knowledge. It has not been checked against the full video. Check the video and relevant product instructions before following a procedure. Report a correction.