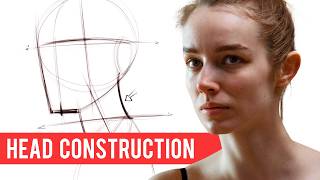
How To Draw Female Waist #howtodraw #pencildrawing, by Sam Oeun Art on YouTube. 1 min 6 s.
- Video length
- 1 min 6 s
- Time to do it
- 15 minutes
- Difficulty
- Easy
- Steps
- 8
What you need
Steps
Draw a light vertical line for the spine. This keeps the waist centered and helps you check the balance of the body.
Sketch two curved lines for the sides of the torso. Make them narrow at the waist and wider at the ribs and hips.
Mark the waist line just above the belly button level. Keep it slightly higher at the back than the front.
Add a soft curve for the hip bone on each side. Let the lines flow into the waist without sharp corners.
Draw a light outline of the ribcage above and the pelvis below. This shows how the waist connects to the body.
Shade the sides of the waist with light pencil strokes. Build the shadow slowly so the shape looks round.
Blend the shading with a stump or tissue. Keep the center of the waist lighter to suggest a soft curve.
Erase any guide lines and darken the main outline. Check that both sides look even before you finish.
Tips and common mistakes
Keep your pencil strokes light at first so you can fix the shape easily.
Use a reference photo of a real figure to judge the waist curve.
Shade in one direction to avoid a messy, scratchy look.
Do not press hard with the pencil or the paper will dent.
Questions
Do I need a special pencil for this sketch?
No. A standard HB or 2B pencil works well. A softer pencil gives darker shading if you want more contrast.
How do I make the waist look natural?
Keep the curves smooth and avoid sharp angles. Compare the width of the waist with the ribs and hips as you draw.
Can I use this for full body drawings?
Yes. Start with the waist as a guide, then add the chest, hips, arms and legs around it.
This guide was drafted from the video's details and general task knowledge. It has not been checked against the full video. Check the video and relevant product instructions before following a procedure. Report a correction.