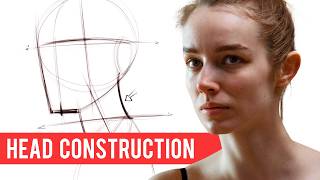
How to ‘SEE’ Shapes when you Draw?, by KeshArt on YouTube. 9 min 41 s.
- Video length
- 9 min 41 s
- Time to do it
- 30 minutes
- Difficulty
- Easy
- Steps
- 7
What you need
Steps
Pick one clear reference photo with a single subject and simple lighting. Print it or keep it on a screen beside your paper so you can glance between the two.
Squint at the photo and sketch the biggest shape first, such as the whole head or body outline. Ignore eyes, fingers and other small details at this stage.
Break that big shape into a few smaller blocks, like a circle for the skull and a wedge for the jaw. Keep every line loose and light so you can adjust it.
Check the empty spaces around your subject, called negative space. Compare the gap between the arm and the body or beside the head, and redraw any block that does not match.
Measure the angle of key edges by holding your pencil up to the photo. Copy that tilt onto your paper and note where each feature sits relative to the others.
Turn both the photo and your drawing upside down and compare them again. Fix the shapes that look wrong, then turn everything back the right way.
Add the smaller details last, once the big shapes and angles line up. Erase the construction lines and darken the final outline.
Tips and common mistakes
Draw light at first so you can erase and adjust shapes without smudging the paper.
Step back from your drawing every few minutes to spot proportion errors you miss up close.
Do not rush to details like eyes or fingers before the overall shape is correct.
Questions
Why does drawing upside down help?
Your brain stops recognising the face or object and starts seeing plain lines and shapes. That makes it easier to copy what is really there.
How long should I practise these tricks?
Try 15 to 20 minutes a day with one reference. Repeat the same photo until the shapes match before moving to a harder one.
Do I need special paper or pencils?
No. A normal pencil, eraser and plain paper are enough to practise shape breakdown.
This guide was drafted from the video's details and general task knowledge. It has not been checked against the full video. Check the video and relevant product instructions before following a procedure. Report a correction.