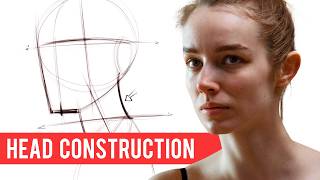
How to draw hair ❤️😍 #pencil #artwork #art #drawingoftheday, by Sam Oeun Art on YouTube. 1 min 34 s.
- Video length
- 1 min 34 s
- Time to do it
- 30 minutes
- Difficulty
- Easy
- Steps
- 8
What you need
Steps
Sketch the head outline lightly with an HB pencil. Mark where the hairline sits and how the hair falls around the face.
Draw the outer shape of the hair as one soft mass, not single strands. Keep the lines light so you can adjust them.
Divide the hair into a few big sections that follow the direction of growth. Note where light hits and where shadows fall.
Shade the darkest areas first with a 4B pencil, such as under the hair mass and behind the ears.
Fill the mid tones with a 2B pencil using light strokes in the direction the hair flows.
Draw individual strands only near the edges and the parting. Vary their length and curve so they look natural.
Blend gently with a stump or cotton bud, then lift highlights with a kneaded eraser.
Add a few sharp strands over the blended areas with a well-sharpened pencil to bring back detail.
Tips and common mistakes
Draw hair in groups of strands, not one line per hair, or it will look wiry.
Keep your pencil sharp for fine strands and blunt for soft shading.
Leave the lightest areas of paper untouched instead of adding white later.
Questions
Do I need special pencils to draw hair?
No. An HB, a 2B and a 4B cover most of the work. A kneaded eraser helps for lifting highlights.
How do I stop hair looking flat?
Build clear dark and light areas and follow the direction the hair grows. Contrast between shadow and shine gives depth.
Can I use this method for curly hair?
Yes. Draw the curls as rounded groups and shade the gaps between them darker.
This guide was drafted from the video's details and general task knowledge. It has not been checked against the full video. Check the video and relevant product instructions before following a procedure. Report a correction.