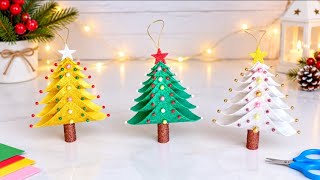
❄️ Amazing Christmas Decor from Toilet Paper Rolls | Easy DIY Snowflake, by VIKI Studio Origami on YouTube. 3 min 17 s.
- Video length
- 3 min 17 s
- Time to do it
- 45 minutes
- Difficulty
- Easy
- Steps
- 8
What you need
Steps
Flatten each toilet paper roll and press the fold firmly. Flattened rolls are much easier to cut into even strips.
Measure and mark 1 cm (about 0.4 inch) wide strips along the flattened roll, then cut them with scissors.
You need six strips for the big layer and six shorter ones for the small layer. Cut the shorter set from a second batch of rolls.
Bend each strip into a teardrop shape and glue the two ends together. Hold each one for about 20 seconds until the glue grips.
Glue the six teardrops side by side in a circle, all pointing outward, so the points meet in the middle.
Build a second, smaller circle the same way, then glue it on top of the first, turning it slightly so the points sit between the lower ones.
Paint the snowflake white or light blue and let it dry completely. Add glitter or a second coat if you want more shine.
Tie a loop of string through one outer point and hang the snowflake on a tree, window or wall.
Tips and common mistakes
Cut the strips a little wider than 1 cm if the cardboard is thin, or they will bend out of shape.
A hot glue gun holds much faster than white glue, so keep a damp cloth nearby for glue strings.
Paint the snowflake after assembly so the glued joints get covered too.
Make several in different sizes and hang them together as a group for more impact.
Questions
Can I use kitchen paper rolls instead?
Yes. Kitchen rolls are longer, so cut them in half first to get strips closer to the toilet roll size. You may need fewer rolls overall.
How long does the glue take to dry?
White craft glue needs about 30 minutes to set firmly. A hot glue gun sets in seconds, so the whole snowflake can be finished in one sitting.
Will the snowflake hold up outdoors?
Cardboard softens in rain or damp air, so keep it indoors or on a covered porch. A coat of clear spray sealer helps in humid rooms.
This guide was drafted from the video's details and general task knowledge. It has not been checked against the full video. Check the video and relevant product instructions before following a procedure. Report a correction.