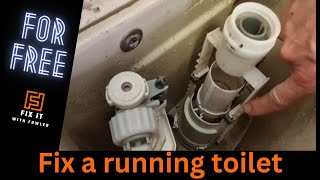
How to Fix A Running Toilet GUARANTEED | DIY Plumbing Repair, by Roger Wakefield Plumbing Education on YouTube. 7 min 25 s.
- Video length
- 7 min 25 s
- Time to do it
- 15 minutes
- Difficulty
- Easy
- Steps
- 8
What you need
Steps
Turn the shutoff valve behind or below the toilet clockwise until the water stops. Flush the toilet to empty the tank.
Sponge out the remaining water in the tank and lay a towel on the floor under the tank.
Unhook the flapper chain from the flush handle arm. Squeeze the clips or slide the flapper off the overflow tube.
Take the old flapper to the store or note the toilet brand and model so you buy the right size and shape.
Fit the new flapper onto the pegs or collar on the overflow tube. Make sure it sits flat over the drain opening.
Reattach the chain to the handle arm with about half an inch of slack. Too tight holds the flapper open, too loose won't flush.
Turn the water back on and let the tank fill. Watch the flapper for a minute to check it seals and the water stops.
Flush once to test. If water still trickles into the bowl, adjust the chain or check that the flapper is seated straight.
Tips and common mistakes
Feel the flapper edge for grit or wear before buying parts. A quick clean sometimes stops the leak.
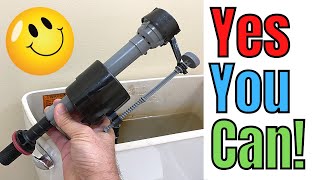
Check the fill valve too. If water keeps running after the tank is full, the valve float needs adjusting or replacing.
Don't overtighten the chain. A little slack lets the flapper drop and seal properly.
Shut off the water before you start so you don't flood the bathroom while working.
Questions
How do I know the flapper is the problem?
Add a few drops of food coloring to the tank and wait 15 minutes without flushing. If color appears in the bowl, water is leaking past the flapper.
Do I need to drain the whole tank?
Yes, mostly. Shut off the supply and flush, then sponge out what's left so you can reach the flapper without splashing.
What if the toilet still runs after a new flapper?
The fill valve or its float is likely the cause. Adjust the float height or replace the fill valve assembly.
This guide was drafted from the video's details and general task knowledge. It has not been checked against the full video. Check the video and relevant product instructions before following a procedure. Report a correction.